Natural light is often described as a photographer's best friend—and for good reason. It's free, abundant, and when used correctly, can create stunning, emotive images that artificial lighting setups might struggle to replicate. However, working with natural light isn't always straightforward. It changes throughout the day, varies with weather conditions, and presents unique challenges depending on your environment.
In this comprehensive guide, we'll explore different types of natural light and how to harness them effectively to elevate your photography.
Understanding the Quality of Light
Before diving into specific techniques, it's important to understand the fundamental characteristics of natural light:
- Hard Light vs. Soft Light: Hard light creates strong shadows and high contrast (direct sunlight on a clear day), while soft light produces gentle transitions and minimal shadows (overcast days or shade).
- Direction: Where is the light coming from? Front lighting, side lighting, back lighting, and top lighting each create different effects and moods.
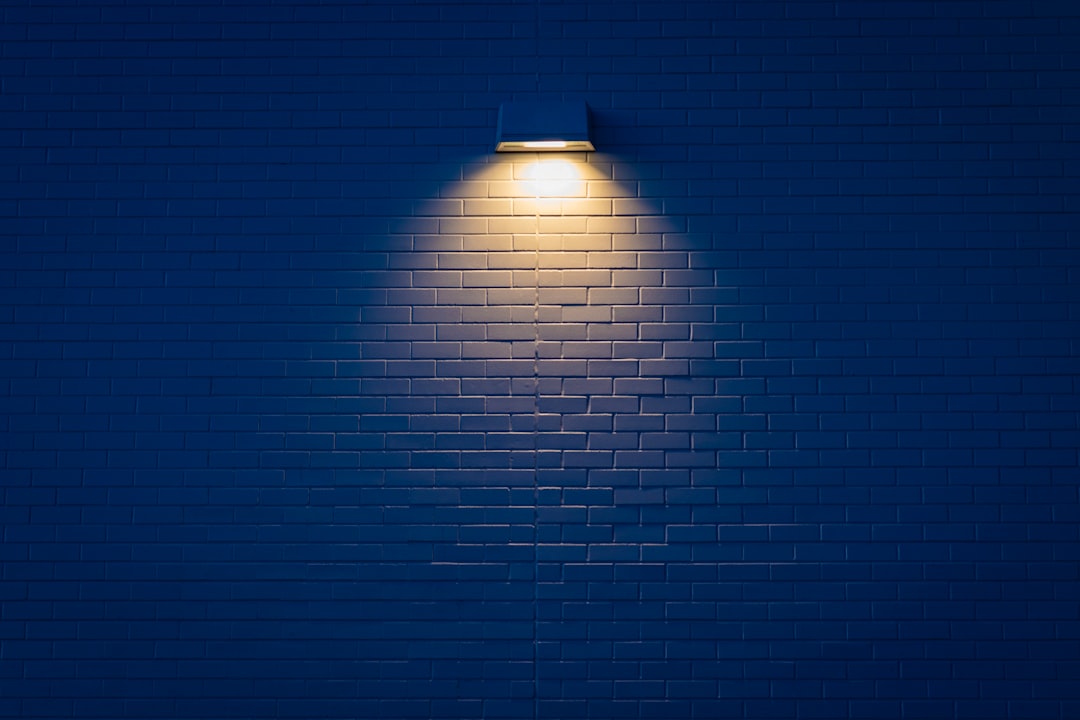
- Color Temperature: Natural light shifts in color throughout the day—cooler in the morning, neutral at midday, and warmer during sunset.
- Intensity: How strong is the light? This affects exposure settings and the overall feel of your images.
Golden Hour: Nature's Perfect Lighting
The golden hour—occurring shortly after sunrise and before sunset—is coveted by photographers for its warm, soft, directional light that flatters subjects and creates a magical atmosphere.
Golden Hour Tips:
- Plan shoots around these times using apps like PhotoPills or The Photographer's Ephemeris
- Position subjects with the sun at their back for beautiful rim lighting
- Use a reflector to bounce light back onto shadowed faces
- Expose for the highlights to preserve detail and create silhouettes
- Work quickly as this lighting changes rapidly
Blue Hour: The Hidden Gem
Less discussed but equally valuable is the blue hour—occurring just before sunrise and after sunset. This brief window creates a cool, ethereal quality perfect for cityscapes, landscapes, and creating moody portraits.
During blue hour, the sky takes on deep blue tones while artificial lights begin to glow, creating a beautiful balance between natural and artificial illumination.
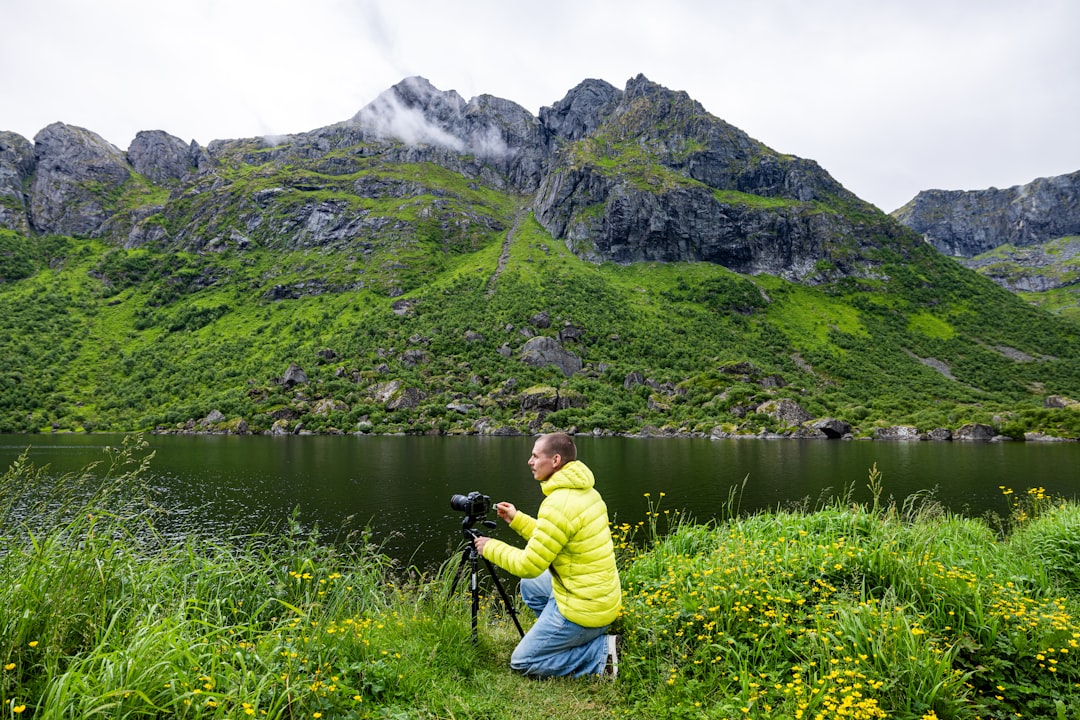
Working with Midday Sun
While many photographers avoid shooting during harsh midday sun, sometimes it's unavoidable. Here's how to make it work:
- Find Shade: Move your subject into open shade for more flattering, even light
- Use a Diffuser: A portable diffuser can soften harsh sunlight
- Embrace Contrast: Use the high contrast creatively for dramatic black and white images
- Reflectors: Bounce light into shadowed areas to reduce extreme contrast
- Backlighting: Position the sun behind your subject and expose for the foreground

Using a reflector to soften shadows during midday shooting
Overcast Days: Perfect Diffusion
Cloudy days provide naturally diffused light that's ideal for portraits, macro photography, and capturing vibrant colors. Think of clouds as a giant softbox in the sky.
Benefits of overcast lighting include:
- Reduced contrast and softer shadows
- More saturated colors (especially greens and blues)
- Easier exposure management
- Ability to shoot comfortably throughout the day
- More flattering light for portraits
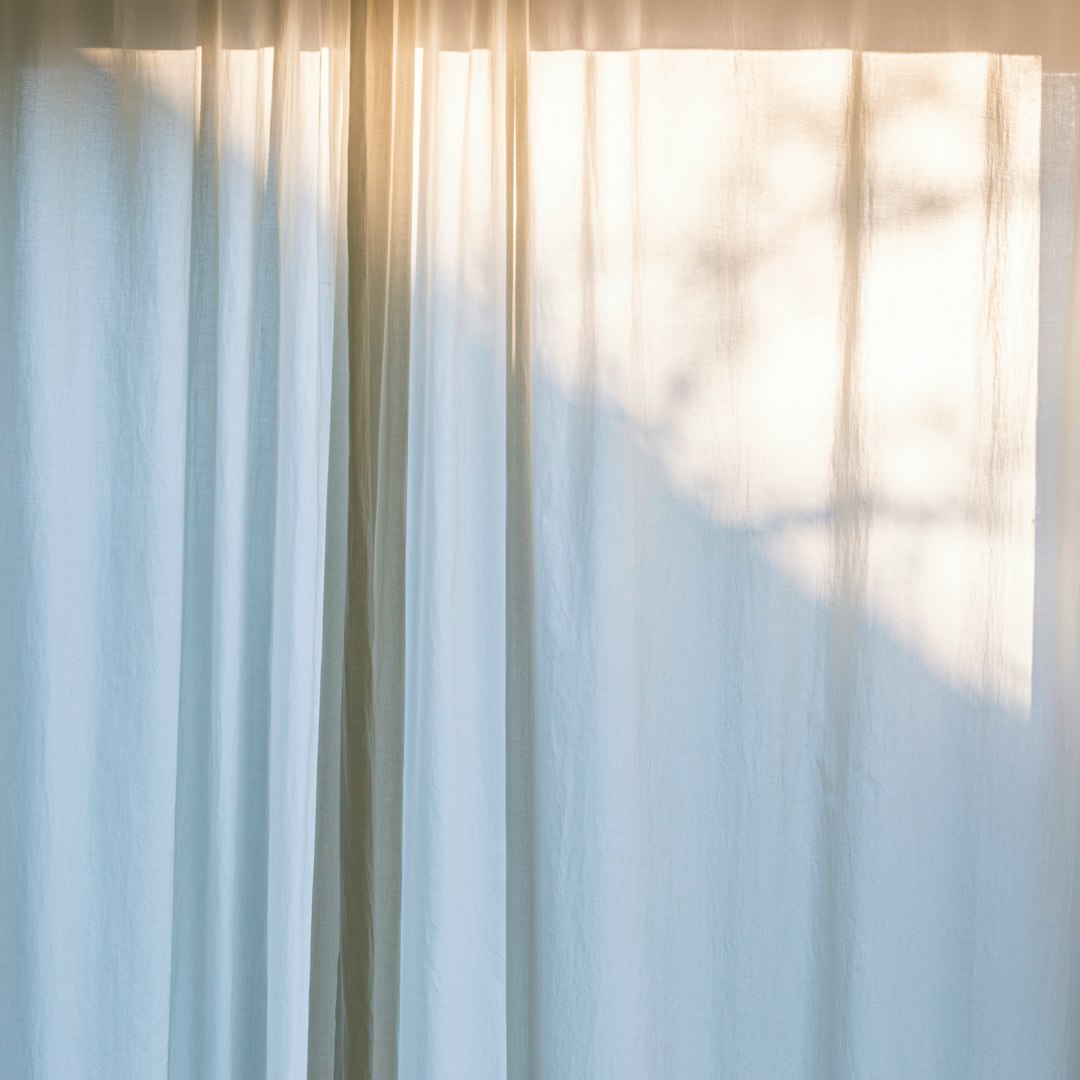
Window Light: The Indoor Natural Light Studio
Window light offers photographers a controlled version of natural light that's perfect for portraits, still life, and product photography.
Window Light Techniques:
- North-facing windows (in the Northern Hemisphere) provide consistent, soft light throughout the day
- Use sheer curtains to diffuse direct sunlight
- Position subjects at different angles to the window to create various lighting patterns
- Add a black card opposite the window for increased contrast
- Use a reflector to fill shadows on the side away from the window
Essential Tools for Natural Light Photography
While natural light is free, a few affordable tools can help you shape and control it:
- Reflectors: Bounce light into shadowed areas (white for neutral fill, silver for more intensity, gold for warmth)
- Diffusers: Soften harsh direct sunlight
- Negative Fill: Black cards or fabric to absorb light and create shadows for dimension
- Lens Hood: Prevent flare when shooting toward the light source
- Polarizing Filter: Reduce reflections and increase color saturation
Camera Settings for Natural Light
Understanding how to adjust your camera settings for different natural lighting conditions is crucial:
- Dynamic Range: In high-contrast situations, consider bracketing exposures or using graduated ND filters
- White Balance: Auto white balance works well, but manual adjustment can better capture the mood of golden hour or blue hour
- Metering: Spot metering or exposure compensation may be necessary in backlit situations
- ISO: Keep it as low as possible in bright conditions, but don't be afraid to increase it in dimmer light
- RAW Format: Shoot in RAW for maximum flexibility in post-processing, especially for adjusting white balance and recovering highlights/shadows
Suggested camera settings for different natural lighting conditions
Conclusion: Developing Your Eye for Light
Mastering natural light is a journey that requires practice and observation. Start paying attention to how light changes throughout the day, how it interacts with different environments, and how it affects the mood of your images.
Remember that "good" light is subjective and depends on your creative vision. While golden hour is universally flattering, don't discount the creative possibilities of harsh midday sun, moody stormy light, or the soft glow of an overcast day.
The more you understand light's behavior and develop your ability to see it, the better equipped you'll be to create compelling photographs in any lighting situation.